
Playrooms Locations and Keys: Unlock Order
Every Playrooms location in unlock order, how the key system works, where each door leads and what to buy before you spend delivered balls on the next area.
Quick answer: Playrooms has eight locations: Playroom, Poolroom, Backrooms, Waiting Room, Office, Hotel, School and the final pit. They unlock in that order. Each new location needs a key bought from the shop with delivered balls, and the final pit only opens after the School. You cannot skip an area.
How the key system works
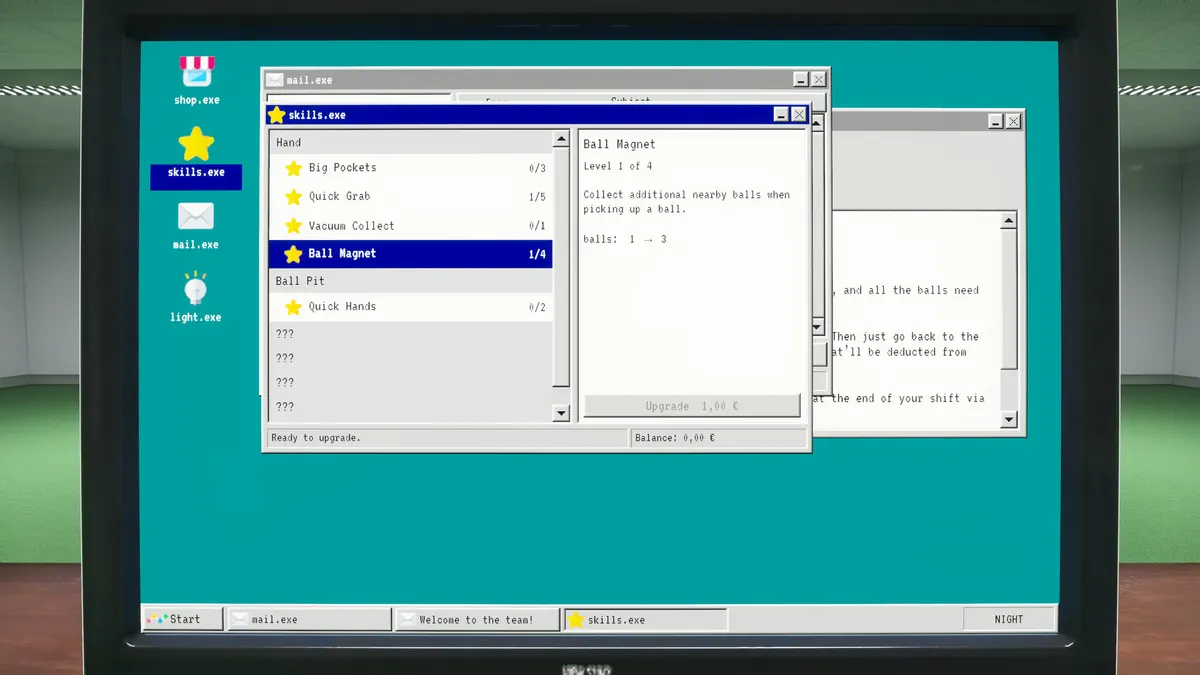
Balls are the only currency. You scoop them, carry them to the pit and dump them. A full pit pays out, and the payout accumulates in the shop. The key to the next location is the first purchase that matters; everything else in the shop is optional until the key is bought.
The shop price is shown at the counter and changes as you progress. Two Pixels has not published an official price table, so any guide that lists exact key costs is either quoting an old build or guessing. The rule that does not change is priority: key first, capacity second, tools third.
If you just want the eight areas in one scannable table, the Pop Playrooms locations index→ is the fast version of this page.
There are three reasons to buy a key before anything else:
- Progress gates upgrades. Some tools and upgrades only appear after the area they are useful in.
- The pit payout scales. Later areas pay more per ball, so an early detour costs more time than it saves.
- The final pit is gated. You cannot finish the game by skipping ahead, because the exit only opens after the School.
The vacuum robot is the most visible item in the shop and the least useful in the first two areas. Buy the key, then a capacity upgrade, then the flashlight if you do not have it.
The eight locations in order
| # | Location | How you get there | What to do before leaving |
|---|---|---|---|
| 1 | Playroom | Starting area | Learn the scoop, fill the pit, buy the first key |
| 2 | Poolroom | First key | Check the waterline and under the pool lip |
| 3 | Backrooms | Second key | Clear by corridor, keep the pit as your anchor |
| 4 | Waiting Room | Third key | Check under chairs and above eye level |
| 5 | Office | Fourth key | Decide whether to answer the phone |
| 6 | Hotel | Fifth key | Mark cleared rooms by number, deliver often |
| 7 | School | Sixth key | Open lockers with empty hands, clear the gym last |
| 8 | Final pit | Seventh key | Deliver everything before stepping through the exit |
The order matches the achievement list and the way the pit-clear achievements appear on Steam. The game has not published an official chapter menu, so if an in-game prompt sends you somewhere different, follow the prompt; the table is the standard route, not a lock.
Location 1: Playroom
The Playroom is the tutorial location. One large pink pit, a wide floor and enough balls to teach capacity without punishing you. The key to the Poolroom is the only purchase that matters here. Test the scoop, learn how many balls a full load holds, and walk the pit's perimeter once before you leave; the gap between the pit lip and the floor is the first place a ball goes missing.
Location 2: Poolroom
The Poolroom is the first location with water, tiles and a second level. The pit is reachable from the pool deck, but the balls are not all on the deck. They collect along the waterline, in the corners and under the lip. Plan a loop that ends at the pit instead of crisscrossing the water.
This is also the first place where a ball can end up inside geometry. If the counter will not reach the pit total, hold the handheld vacuum against the wall seam before you try a full reset. The Poolroom guide→ covers the route in detail.
Location 3: Backrooms
The Backrooms is the first maze: yellow wallpaper, repeated door frames and rooms that look identical. The location is not laid out as a single floor plan you can memorize. Clear one corridor at a time, deliver, then pick a new direction.
The pit is the only fixed point. If you are disoriented, stop and listen; the pit has a distinct audio cue and the lighting is slightly brighter around it. Opening every door is not the objective. The "Level 0" achievement fires on the pit clear.
Location 4: Waiting Room
The Waiting Room is small on the map and large in practice. Balls sit under the chairs, behind the reception desk, in the dark corners beside the vending area and near the ceiling. The central pit makes it tempting to ignore the edges, which is exactly where the last few balls are.
This is a good location to use the flashlight even when the lights are on. The beam catches balls in shadow that the room lighting hides. The Waiting Room guide→ has the search order.
Location 5: Office
The Office is a green carpet maze with cubicles, a phone and a staircase that does not end. The phone is optional. Answering it brings an office worker to your position; the worker follows you and changes the route you can take. Ignoring it leaves the room quieter but does not remove the worker forever.
The staircase is a time sink. There is no pit at the top and no collectible that justifies the climb on a first run. Clear the floor, fill the pit, leave. The Office guide→ explains the phone behavior.
Location 6: Hotel
The Hotel is the most interesting location in the game. The layout shifts, doors lead to different rooms, and the corridor narrows if you stay too long. The room-number plates are the stable reference; use them to mark what you have cleared.
Work in short loops and deliver often. If a corridor starts to close, turn around immediately rather than pushing to the end. The Hotel guide→ covers the room-marking routine and the night behavior.
Location 7: School
The School is the biggest interior: classrooms, a gym, red lockers and clusters of balls that burst when a locker opens. The burst is the main hazard. Open lockers with empty hands, step back, then collect. If a locker spawns fewer balls than expected, your carry capacity was probably full at the moment of the burst; reloading from the main menu respawns the locker contents.
Clear the gym last. It is the longest walk from the pit, and the ball density is lower than in the classrooms. The School guide→ covers the locker behavior and the gym route.
Location 8: The final pit
The last location is a single pit rather than a themed room. Fill it, walk through the exit, and the "Clock out" achievement fires. There is no boss and no branch. Dump everything you are holding before you step through the exit; the final payout resolves on delivery.
What to buy before each key
The shop stock changes as you progress, but the priority order stays the same:
- Key to the next location. Always first.
- Carry capacity. The single biggest time saver in every area.
- Flashlight. Required for the lights-out sections and useful in the Waiting Room and Backrooms.
- Handheld vacuum. Fixes stuck balls and speeds up corners.
- Robot vacuum. Worth it in the School and Hotel, not before.
- Cosmetic and quality-of-life items. Last.
If you are short on balls, replay the previous location's pit rather than grinding the current one. Earlier pits are faster to refill, and the time per ball is usually better than hunting the last few balls in a large room.
Sources and official links
Official source: Playrooms on Steam ↗
FAQ
How many locations are in Playrooms? Eight, counting the starting Playroom and the final pit. Six are themed areas in between.
Can you skip the Poolroom or Backrooms? No. The key chain is linear, and the final pit is gated behind the School.
How much does each key cost? The price is shown at the shop counter and changes as you progress. Two Pixels has not published an official cost table, so treat exact numbers in other guides as build-specific.
What happens if I miss a key? You cannot miss a key permanently. If you leave an area without buying it, walk back through the door and the shop remains available.
Do I need to fully clear a location before buying the next key? No. The key only needs enough delivered balls. Full clears are for achievements and collectibles, not progression.